A table saw is a very efficient power tool for making various repetitive cuts. However, it is also potentially dangerous if you don’t know how to use one correctly. In this introduction to using a table saw, you’ll learn about the different parts of a table saw, what cuts you can make, and how to use a table saw safely and efficiently.
If you regularly work with wood, a table saw is a valuable piece of equipment for your workshop. You can use it for more things than any other cutting tool, and the result will be more accurate.
Use it to re-dimension lumber, install framing and trim, rip wood, make miter and cross cuts, and bevel cuts. With the help of an accessory called a dado blade, you can cut rabbets and grooves. A table saw will also cut other materials such as cardboard, PVC piping, plexiglass, tile, and styrofoam.
Parts of a Table Saw
When you first unpack your saw and set it up ready to use, it’s essential to take a couple of minutes to become familiar with the different parts. Depending on the manufacturer and model, you may find small variations, but most table saws feature the following elements.
Stand/Table
Table saws are usually mounted on a stand or table. That being said, some table saws are secured to a worktop or bench, and you’ll not need a table or a stand.
Table saws designed for cutting large workpieces may include a table extension that is generally to the saw’s right side.
Blade
This is the part of the table saw where all the action takes place. The blade is what cuts, and depending on the model, it will spin at a specific speed. It sits in the middle of the table and is mounted via a slot.
Certain models of table saw allow you to angle the blade so you can make 90- and 45-degree cuts.
Blades are typically available in ten or twelve-inch diameters. You’ll often find the kerf size mentioned. This is the blade’s width and an indication of how much material you can expect the blade to remove.
A blade’s TPI identifies what material and task you can use it for. The more teeth per inch a blade has, the better it is at cutting plywood, metal, and veneers. Blades with a low TPI are better for cutting hardwood, making rip cuts, and cutting lumber.
Blade Insert/Throat Plate
The purpose of this thin bit of wood or metal is to prevent small workpieces from dropping into the arbor. It is mounted level with the table’s surface and around the blade.
Blade Guard
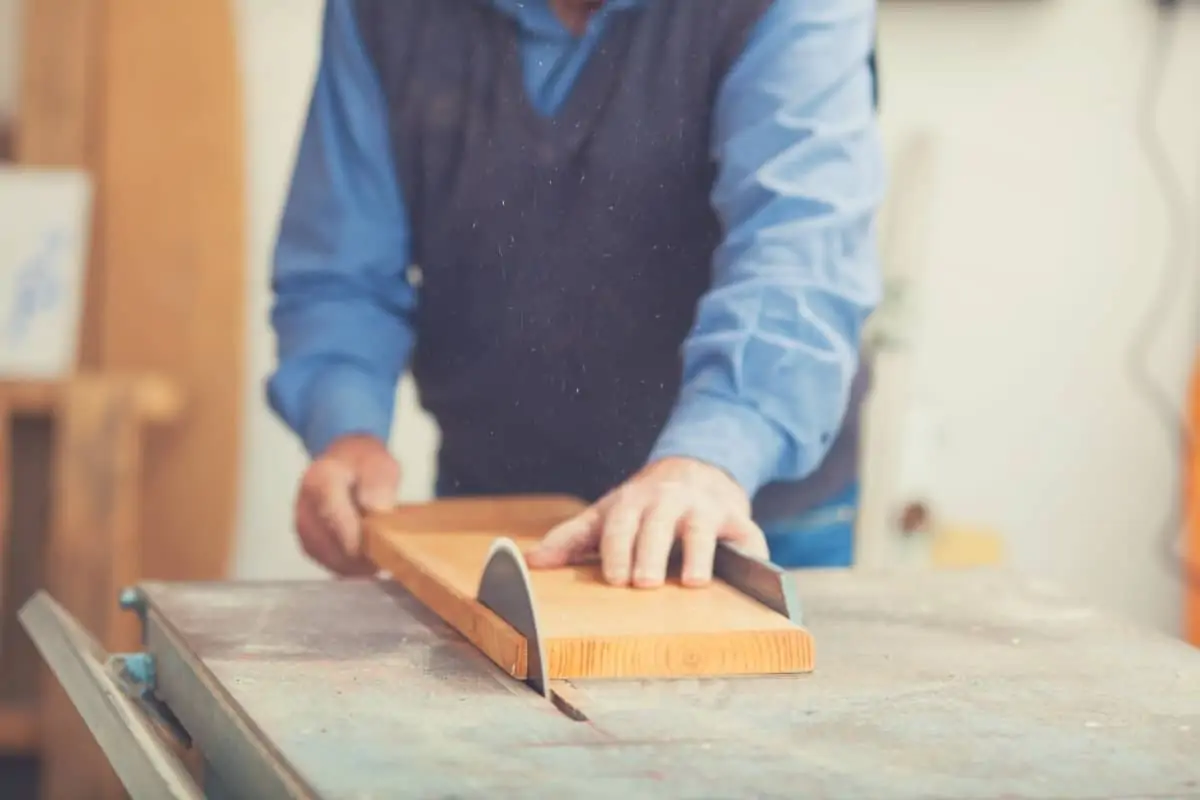
This part of the table saw protects the user of the saw from the blade. It is transparent, fits directly over the blade, and is generally curved to correspond to its shape.
When you push your workpiece into the saw blade to make a cut, this cover lifts and rests on the top of your workpiece. The cover also provides additional security against kickback.
You can see other table saw safety features in this video.
Riving Knife
A riving knife sits behind the blade. It prevents the cutting piece from rotating or pinching into the blade. Such actions would make the workpiece kickback and theoretically injure the operator.
Anti-Kickback Claws
The potential for kickback is a big concern when using a table saw. An anti-kickback claw is mounted on some table saws to the rear of the blade’s cover. The spiked claws rest on the workpiece as you feed it through the saw, helping to hold it down.
Should there be any kickback, the claws catch your workpiece and stop it from flying out of the table saw.
Blade Depth Adjustment
You can usually adjust the height of the table saw blade by cranking a handle or turning a wheel that lifts the blade up or down.
Rip Fence
When you use the rip fence, it makes your rip cuts much more manageable and trouble-free. It is a moving part that is adjustable both horizontally and vertically. The fence keeps your workpiece at a specific distance and parallel to the blade as it cuts.
In general, it is on the side of the blade that matches the hand you use. If you’re right-handed, for example, it should be on the blade’s right side. The opposite applies if you are left-handed.
If you didn’t use a rip fence, you’d have no real way to control your workpiece and keep it in a straight line as the saw cuts.
The maximum distance the fence is away from the blade is referred to as the rip capacity. This is an indication of the maximum size you can cut.
It’s possible to lock the fence in place using a fence dog. If you want to move the fence, you lift a handle or press down on it to lock the fence in place.
Miter Gauge
You use a miter gauge when making square cross cuts. It acts as a guide, and you can set it at different angles, for example, zero or ninety degrees. Angled cuts are also possible by setting the gauge for angles between 45 to -45 degrees.
Generally, the gauge is located on the left side of the saw blade, and you can slide it up and down.
Bevel Angle Gauge
This feature is often located just below the table, perpendicular to the end of the cage. The gauge allows you to see what angle the blade has to be set to when making a bevel cut.
Elevation and Tilt Wheels
If you want to adjust the height of the blade, you use the elevation or tilt wheels. Ultimately, it’s what you use to control the cut’s depth.
Dust Collection Port
Some table saws have a dust chute or port. This quality lets you connect your saw to a dust collection system. The obvious advantage is that it helps to keep your workspace clean. Another safety benefit is that it helps remove any dust and debris from the air, which is better for your health.
ON/OFF Switch
The location of this switch is generally at the front of the table saw. Such a position means you can find it easily if you need it. Generally, the on/off switch is a button you push and pull. Although, you’ll also find magnetic switches on some models of cabinet saw.
Type of Table Saw Cuts
A table saw can perform various types of cuts. For this article, I’m going to focus on the most conventional ones.
Rip Cuts
A rip cut goes down the whole length of your work piece, generally along the wood grain. It is also known as a through cut.
To set the table saw up, you use the fence as a guide, according to the width you want to cut.
Cross Cuts
A cross cut is made across the width of your work piece, as opposed to the length and are generally across the wood grain. The standard way to make the cut is with a miter gauge or sled.
Miter Cuts
To make a miter cut, you have to secure your workpiece at the correct angle with the help of a miter gauge. You can also use a gauge block/fence with a sandpaper cover for even greater control. This addition will also reduce the chance of your work piece slipping.
Bevel Cuts
For making bevel cuts, you will need to use the miter gauge and the rip fence. Both of these will help you control the wood and make sure the edges are straight.
Take extra care when making this type of cut because waste material can be ejected from the table. If the wood’s waste side is toward the fence, there is also an increased risk of kickback, which might happen when waste gets trapped up against the fence.
Further precautions to take are positioning yourself to the back of the fence and using push tools so that your hands are never too close to the spinning blade.
Compound Cuts
Cutting a compound cut is a little more challenging than some of the other cuts mentioned. This is because the saw blade has to be tilted and the miter gauge adjusted to complete the cut.
A simpler way of making this type of cut is to tilt your workpiece instead of the blade. However, to do this, you have to hold the workpiece at precisely the same angle as it would be when you assemble your finished project. To help achieve the right angle, you can use a sled attached to the miter gauge.
Dado Cuts
This is a cut that’s more commonly used in joinery applications. You would use a miter gauge or fence to make a wide cut or trench.
You can purchase special blades in the US for making dado cuts. However, Dado blades are not available in Europe. To use dado blades, you have to remove the riving knife and guard, which are essential safety additions.
If you purchase a table saw in the UK or Europe, manufacturers fit them with a short arbor to prevent anyone from using such a blade.
How to Use a Table Saw – Step-By-Step Guide

A table saw is a handy machine, as long as you know how to use it properly. This step-by-step guide will show you what to do to make your DIY projects more productive and enjoyable.
Step 1 – Safety First
Tables saws have the potential to cause serious injuries, not only to the hands, which makes safety of the utmost importance. If you become complacent, the risk of serious injury increases.
For your protection, you should always wear safety glasses, pay close attention to what you’re doing, follow proper safety procedures, and always respect your tool.
Other safety recommendations include:
- Keeping your hands behind a spinning blade at all times.
- Never get closer to the spinning blade than three inches.
- Turn off the table saw and wait for it to stop spinning if you have to reach in front of it.
- Use a push stick to help keep your fingers away from the spinning blade.
- Wear ear defenders to protect your hearing.
- Wear hand protection to protect your hands from loose workpieces and flying debris and to ensure you have a better grip.
- Ensure you have good dust extraction and ventilation. If not at the very least make sure you wear a dust mask.
Step 2 – Adjust the Blade Height
There are two different ways you can adjust the height of table saw blades.
Firstly, you can set your blade height slightly higher than the top of the workpiece you’re working on. One very good reason for taking this approach is that it’ll save your fingers should your workpiece slip. Nonetheless, there is a downside. This approach increases the risk of kickback and can cause tearing.
The second option is to set your saw blade height well above the top of your workpiece. You’ll reduce fraying and tear out. However, it is more dangerous because more of the blade is exposed. Should the workpiece slip, there is a significant potential for serious injury.
Step 3 – Adjust the Fence
You use the fence when making accurate cuts lengthwise. Control of this feature is usually by way of a lever or the fence dog. If you want to adjust your cut’s width, lift the lever, allowing the fence to move from side to side.
A common problem when adjusting the fence is that it’s not properly aligned. You can prevent this from happening by taking measurements from the fence to the back and the front of the blade and ensuring they are the same. A simple tap on the fence should be enough to get both measurements the same.
When the fence is correctly aligned, you can hold it in place with one hand and push down on the lever to make it secure.
Step 4 – Adjust Miter Gauge and Blade Bevel
You can adjust your miter gauge to any angle you want, but in most instances, you’ll be using a 90-degree miter angle. With this angle, the pieces you crosscut will have corners that are square.
A good miter gauge will also slide along the miter slot smoothly and have no wiggle. There will also be a built-in stop that allows you to set the gauge back to 90-degrees simply and quickly.
To make a bevel cut, you need to adjust the angle of the blade. You adjust the tilt of the blade using graduation marks on the blade tilt control and lock it into place when it’s at the desired angle.
Watch this video for more tips on making miter and bevel cuts using a table saw.
Step 5 – Turn on Dust Extraction (If Using)
Dust collection is key in any woodworking shop as, aside from being time-consuming to clean up, it’s also a health hazard.
Many newer table saw models include very efficient dust collection features, but those that are a little older might need some modification.
Your options are:
- Use a dust port.
- Close the back of the saw to prevent the dust from escaping.
- Close in the gaps to help concentrate the suction around the blade and to stop it from escaping.
- Purchase an overarm collection system.
Step 6 – Make the Cut
When you’ve made all the necessary adjustments, you can lower the blade guard over the blade so that you’re protected from any debris. Make your measurements and mark on your workpiece where you want to cut.
Plug your table saw in and turn it on. You’re ready to cut when the blade has achieved the optimum cutting speed.
Place your marked workpiece flat on the table and make sure it’s lined up correctly with the fence. If you’re cutting large pieces or making long rips, you might need to use an extension or outfeed table.
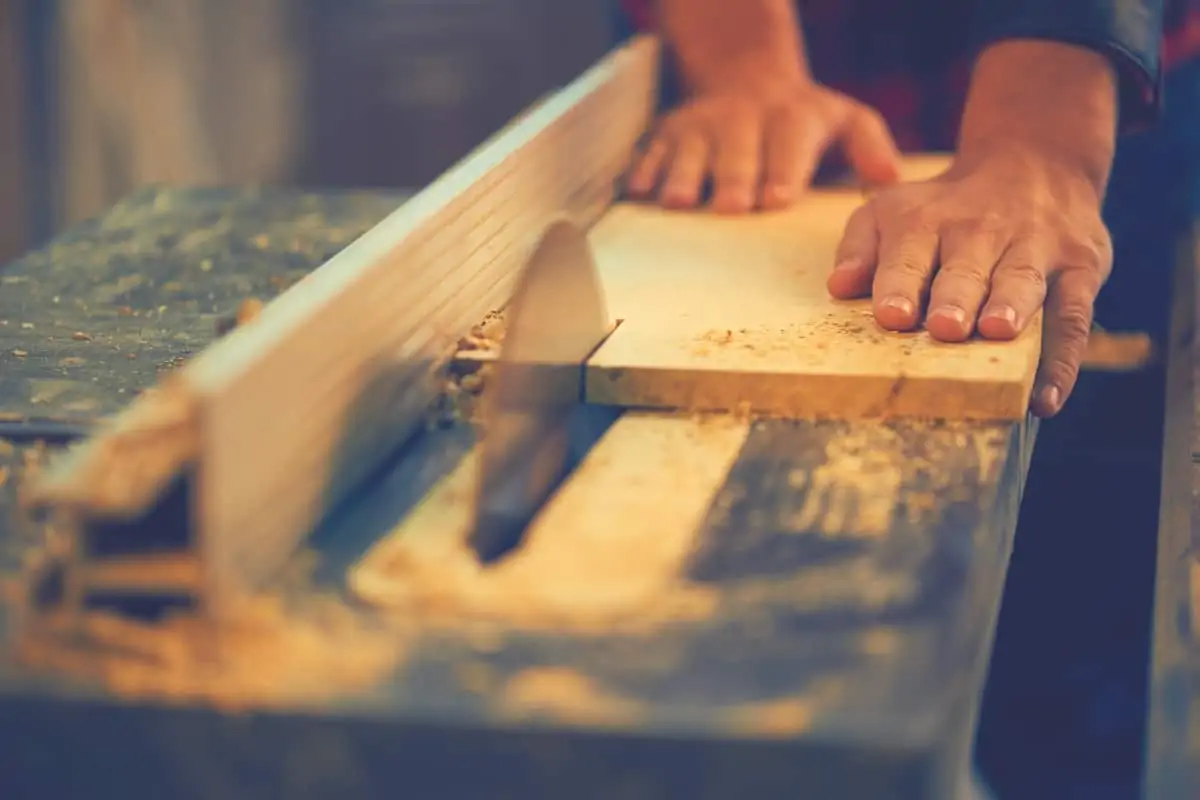
Position your hand carefully on your workpiece, between the fence and the blade. Hold your workpiece firmly on the table and guide it smoothly and slowly along the rip fence.
There is no need to use excessive force as this could be dangerous and lead to an imprecise cut. You only need to use enough force to keep your workpiece against the fence.
Try to keep a minimum of six inches between your hand and the blade. If this isn’t possible, use a push stick. To finish your cut make sure you push the wooden board past the blade and riving knife.
When you’ve finished cutting, shut off the power, and wait for the blade to stop spinning. It’s then safe for you to remove your cut workpiece and safely remove any scrap wood.
Final Words
It’s good to feel comfortable using a table saw, and I hope this guide has helped. When you’re learning how to use a table saw safely, the best thing to do is think carefully about what you’re doing and take your time.
Never let the workpiece come into contact with either the miter gauge or the ripping fence, and keep your fingers away from the spinning blade at all times.
Used correctly, a table saw will give you plenty of years of service, helping you make accurate cuts every time.
I’d love to hear about your own experiences with a table saw. Please feel free to write something in the comments below.


