All things must come to an end, but our drill bits don’t have to meet theirs prematurely. Many can be re-sharpened and put back to work right at home. If you bought quality bits in the first place, then you’ll find that resharpening them saves a lot of money over time. So, if you’re up for the challenge, read on and we’ll show you the ins-and-outs of salvaging dull bits.
What Types of Drill Bit Can I Sharpen?
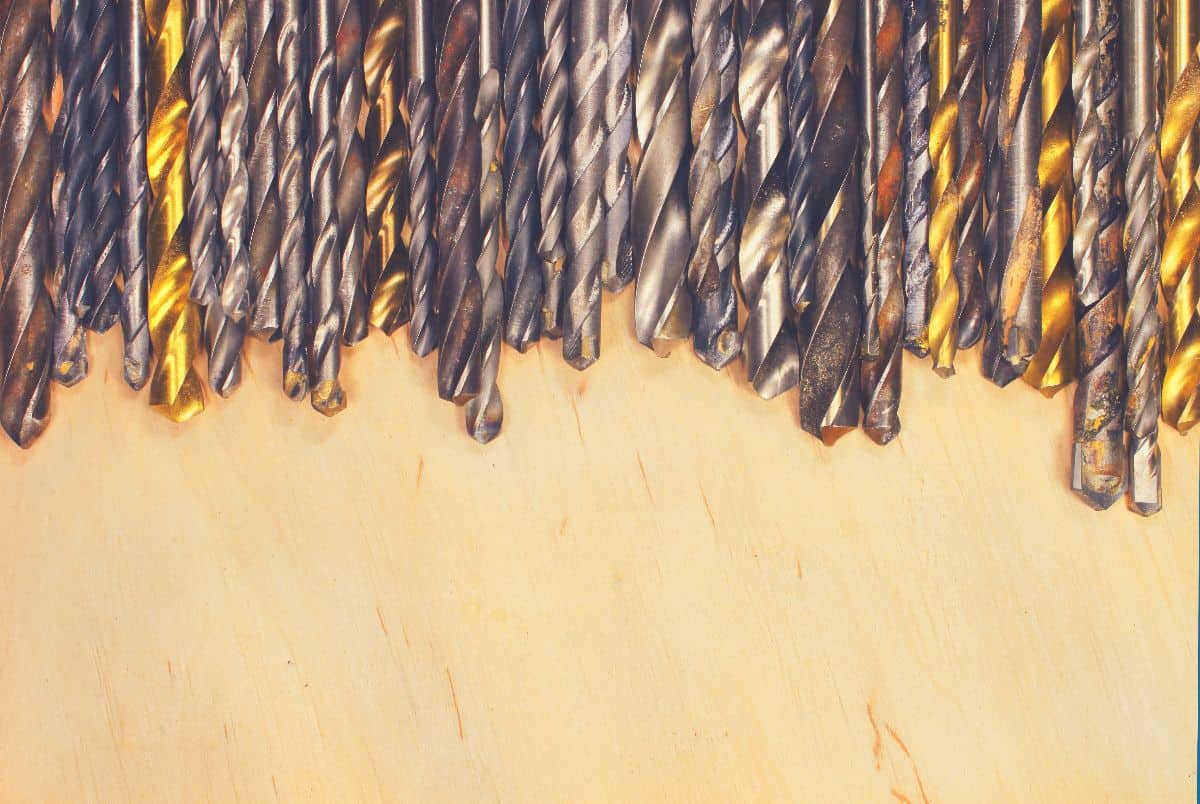
For the most part, people can easily home sharpen the following types of bit with some tools:
- Twist drill bits- Standard drill bits are the most easily resharpened. Usually, you’ll only have to adjust the head on one which has been heavily used.
- Spade drill bits- Easily sharpened with just a file. They have few parts and can be back in action quickly.
- Forstner drill bits- These complex bits can be resharpened if you want to extend the life of a good set.
- Hole Saw- Hole saws are often used in drills, but aren’t really a “bit.” They can often be resharpened a couple of times if you’re willing to put in the work.
Provided you can work the base material of the bit with your tools, you should be able to sharpen all of these at home.
While some other types can be re-used, it’s often not economical.
What Types of Drill Bit Can’t I Sharpen?
There are dozens of different variations of drill bits, and not all of them are serviceable at home.
Sometimes this is due to the type of bit, primarily when we’re talking about specialty bits. Diamond bits, for instance, rely on an abrasive to cut and the diamonds will “burn” as time goes on. Once that’s over with, they’re done.
More often, it has to do with the mechanical properties of the bit’s material. The following can all keep you from sharpening the drill bit in question.
Base Material
Most drill bits are made of some form of high-speed steel. HSS is a great material, designed for drill bits and other tools which are subject to high RPM loads. It’s quite hard but doesn’t require exotic materials to work with.
Cheaper steel is even easier, but the time investment in sharpening them is intensive. In some cases, you may want to purchase another set entirely.
Cobalt and tungsten alloys are commonly used for hardened steel or masonry. Their extra hardness makes them impractical to sharpen at home. A standard hardened steel file is too soft to re-edge the blades on the bit, so diamond tools or a professional are required.
Coating
Coatings are a complicated matter, at least when it comes time to sharpen.
In all cases, you’re going to lose the coating by sharpening the bit. Full stop. Enjoy the lifespan of your titanium drill bits and just buy another set when they’re too dull to be of use.
Oxide coatings, the black stuff, are the only coating I’d recommend re-sharpening. You can apply a polish to get most of the same friction-reduction and the coating is minimally effective at anything but delaying rust in the first place.
Drill Sharpening Methods
That exact method you’ll need to follow will vary for different types of drill bit. However there are three approaches you can take:
- By Hand- Using a file and, usually, a jig you can put most simple bits made of HSS back in working order.
- With Power Tools- A bench grinder is the most common tool used for putting the sharp cutting edge back on bits, but it can’t be used in all cases. It also requires some proficiency with the tool that not everyone has.
- With a Drill Bit Sharpener- If you’re regularly sharpening bits, there are sharpeners that do it automatically. They’re handy but expensive. It’s not a bad idea to look into this option if you need to do a whole set.
No matter what you’re using, the idea is the same: you’re going to try restoring a sharp cutting edge to the tip of the drill bit.
For hard bits you’ll need diamond flat files or wheels, keep that in mind if you’re sharpening tungsten or cobalt bits.
How to Sharpen Drill Bits
Sharpening drill bits is a straightforward affair. You’ll be grinding down the exterior of the bit and re-tipping it in most cases.
Forstner and hole saws are different than twist bits, but all of them can be sharpened at home.
Step 1: Examine the Bit
You’ll want to take a close look at the drill bit you’re sharpening. Examine the whole cutting edge, right to the outer edge of the bit.
There are a few reasons why you’re looking to sharpen your drill bit. The most likely reason is that you have a dull drill bit. Whether using a hand drill or a drill press you’ve probably noticed a reduction in the speed at which your drill cuts through material when you apply a pretty decent pressure. Another sign could be that the drill bit is getting excessively hot and even burning the material.
Or it could be that you’ve managed to snap the drill bit while drilling or even just dropped it. Hard tool steels tend to be really brittle so this.
What ever the reason it’s important to understand the extent of the material you’re going to need to remove. Whether you’ll just need to skim a small amount off to reform a razor sharp cutting edge, or whether you’re going to need to totally reform the tip.
You should also examine the shank, they can sometimes form burrs. If you find any, file them off with a flat-file before grinding. Otherwise, they pose a cutting hazard to your hand during the sharpening process.
Step 2: Consider Using a Jig
If you’re using a belt sander or bench grinder, now is a good time to make a jig. You’ll just need some scrap wood, a saw, and a chisel to do it. It’s important to match the original angle of your bits if you make a jig, but most are either 118° or 135° on the tip.
Jigs take some time to make, but make things a lot quicker.
If you’re only planning on sharpening one bit, then you can try to skip this step. However sharpening drill free hand with good results takes a lot of practice. If you’ve never tried before or have more than one or two to do it’s totally worth the initial investment in time.
Step 3: Don Your PPE
Whenever you’re using a grinder or belt sander you’ll have to deal with debris. When grinding steel, small, red hot sparks will come flying off.
A good set of ANSI-rated safety glasses are a must. I’d also recommend a cloth or leather apron to prevent any burns on your clothing.
Bench grinders and sanders can also be really noisy even before you start cutting metal. If you’re going to be using a grinder for a prolonged period of time I’d strongly recommend some ear protection.
Despite the proximity of your hand to the cutting surface: do not wear gloves while operating a bench grinder or belt sander. They can get caught easily, and cause severe injury.
If in doubt, then give yourself a refresher on tool safety before you begin.
Step 4: Grind and Sharpen the Bit
Now that you’re suited up, and possibly have a jig, it’s time to grind the drill tip.
Twist Drill Bits
If you have a jig, then just bring your bit into contact with the grinding wheel and gradually apply some pressure. Slowly rotate the drill bit clockwise to grind the entire surface. If you need to alter the angle of the cutting edge you might need to slide the jig side to side across the bed to grind the full length of the cutting edge.
If you don’t, then you’ll have to eyeball the angle. Carefully place the cutting edge at a 90° to the front of the belt or grinding wheel. Bring the bit straight into the wheel for a few moments, then pull it back to look at the angle.
If it looks clean, then you’ll want to turn it 180° and repeat the process. Even if you haven’t made a jig it might be useful to compare the angle against another drill bit, or even you a protractor if you have one.
In either case, dip the bit in water between short sessions of grinding. Heat is your enemy, it makes the bit hard to handle and can even temper the metal changing it’s material properties.
If you don’t have a power tool you can use a hardened steel file but it’s much harder. File at an angle exactly perpendicular to the cutting edge, in one direction, and examine it frequently. You may not be able to get a great tip if you don’t have a sure hand, but it’ll be much better than a truly dull one.
Spade Drill Bits
The easiest way to sharpen spade bits is by hand.
Lock the bit in place using a vice or clamp. Vertical is easier, but you can also place them on their side when using something like a c-clamp.
Using a flat file find the edge’s angle, running the file carefully along the same plane. Use the file to remove any burrs from the ends. Keep going until any chips are also removed and there is a sharp chisel angle.
You can also file the tip to a sharper point, and resharpen the cutting edges if it has a bevel.
Forstner Drill Bits
Forstner bits are a bit trickier. If you only need to hone the cutting edge you might be better off doing it by hand. There are a range of slip stones or diamond honing tools available for just this sort of thing.
However if you have a number of them to sharpen you might want to consider a rotary tool with a conical grinding stone. If you’re comfortable using a rotary tool you could try this free hand like the video above. However I would advise clamping the rotary tool down to create a kind of mini bench grinder.
The tips in the video all still apply, however I always like to consider safety first. So for me this is much easier and much safer if the rotary tool can’t move. You can then focus on the angle of the cutting rim without having to worry about the angle of the grinding stone too.
The easiest way I’ve found is to just use a piece of 2×4 and a couple of long zip ties. Place until the rotary tool doesn’t move, and you’re good to go. It’s only one-use if you do it that way, but you can make something longer lasting if you’d like.
When it comes to the outer rim you should always remove material from the inside to reform the cutting edge. Removing material from the outside will change the diameter of the holes you drill. Match the angle on the interior edge and move the bit smoothly along the rotary tool’s burr.
Both sides need to be even, so count the strokes during your sharpening.
Afterward, you’ll want to come along the inside of the flutes from the center of the bit. Make sure you’re removing even amounts of material and bring it to a nice edge.
Forstner drill bits are a lot trickier to sharpen, so take your time and get it right.
Hole Saws
Hole saws should be sharpened like a saw.
The basic idea is to restore a sharp edge to the top of the teeth. You can use a rotary tool with a cut-off wheel to do it easily. Files work as well, just make sure to keep the bit stationary or you may injure yourself. A bench vice works well for this purpose.
Hole saws will generally only take one or two re-tippings before you need to replace them entirely.
Step 5: Test the Bit
Always test your bit’s new point before you start putting everything away.
If it cuts clean and smooth, then you’re good to go. Otherwise, examine the tip or edges and determine where the problem was.
Not everyone will be able to get a razor-sharp bit, it’s a skill that takes practice. But most people should be able to get a significant improvement within fifteen minutes of work.
Conclusion
Learning how to sharpen a drill bit isn’t hard. It’s definitely a task that will take some practice. On the other hand, those who learn will be able to extend the life of their precious, expensive bits by a significant margin.
If you have the tools on hand, why not get started?